Bathroom tiling
31 Oct 2023
Here we go again, first attempt at something, zero knowledge! Copying our Learning by Doing approach from our little school, @DnALearningZone :)Round uneven walls and a pretty average bumpy floor slab, mmmmmm. We go shopping for tiles with the idea that mosaic will solve all our woes and we find some at our first stop, there's a purple style one too! So the shower wall mosaic is decided and we choose a paint to go with them. I choose black and white for the floor and then read the small print, these are glass mosaics and not designed for floor use …… crap! A rethink and we decide on 30cm x 30cm normal white ceramic tiles.
Starting off with the skirting and the level drop step I realise that a similar line at the top of the wall will look ace, definitely another trip for more mosaic then. Got to say here that in real life the mosaic look almost completely random, but when you look at it here it's weird and there's a definite zig zag pattern in the pics, especially on a small screen.
The shower backsplash :)

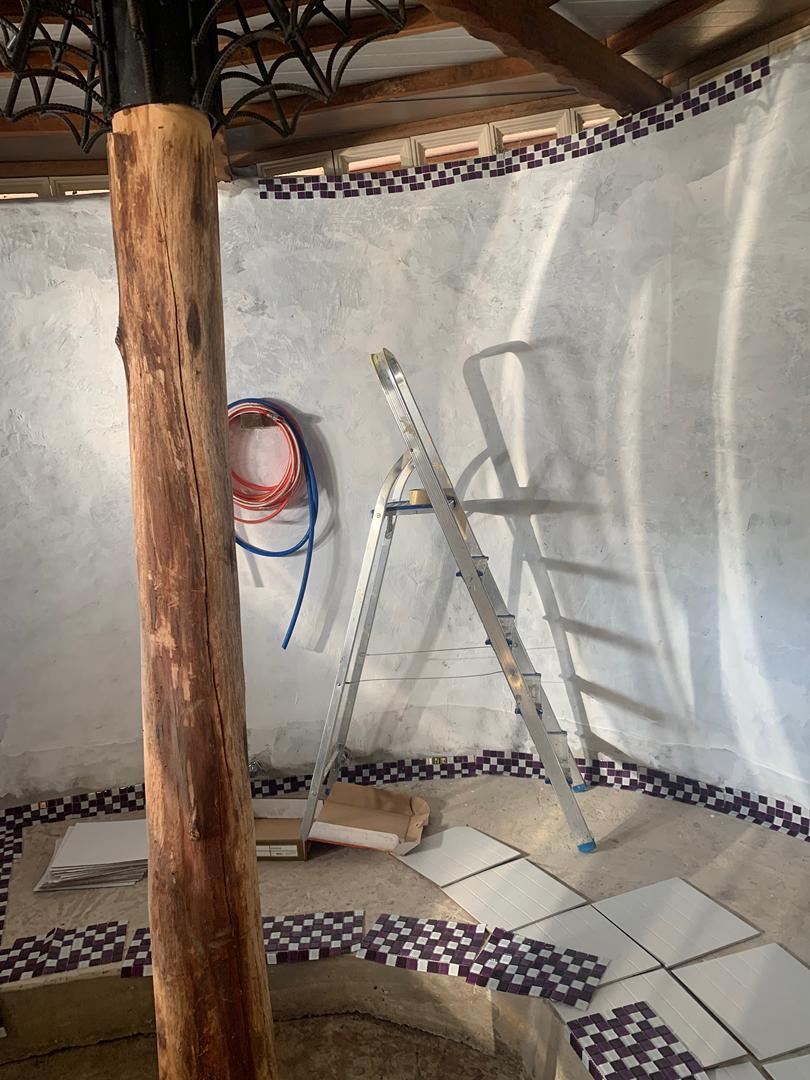
Finishing off the mosaics and laying out the floor tiles, the curved look turned out to be way too hard to implement, literally every tile would need to be cut and cutting small angles off the edge of thin tiles …….. not for me!

So here's the floor layout and you can see the add on mosaics around the pole :)

The top level done, three days including a day of drying before doing the triangular edges.

Get up to date with our building projects, onging until we have to start renovating, and I suppose then there'll be a renovation blog :)
Any questions ….. get in touch and we'll do our best to answers them, or you can come round for a visit of course.
If you're new here, click the year and scroll down to get to the earliest.

Any questions ….. get in touch and we'll do our best to answers them, or you can come round for a visit of course.
If you're new here, click the year and scroll down to get to the earliest.